It’s time to straighten up your act.
IT’S TIME TO STRAIGHTEN UP YOUR ACT
• WORDS: C. STEWART
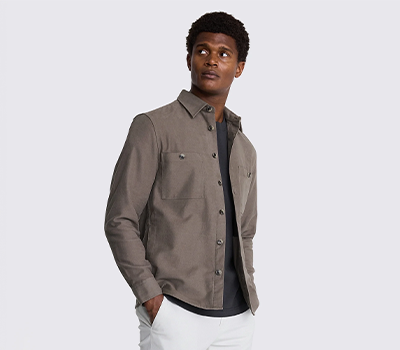
If you’ve gone to the trouble of getting a sharp suit or tux for prom, you don’t want a crumpled shirt to let the side down. And while your mum or dad might usually do the ironing, you’re getting ready to be a man of the world now so you should really be able to it yourself.
So this is it: here’s how to iron your prom shirt like a pro.
STEP 1: PREP
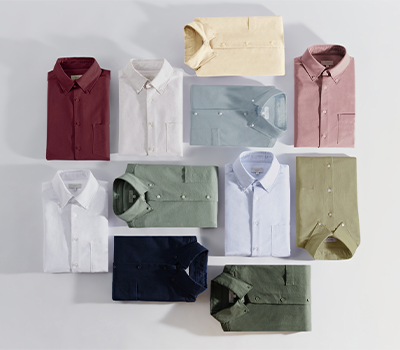
Start easy: plug in the iron. You’re going to need to select a setting, so read your shirt’s label. Cotton or cotton-blend shirts can take higher heat, but something with polyester or spandex might be a bit more delicate. If in doubt, pick a low setting and move up if you need to.
STEP 2: COLLAR
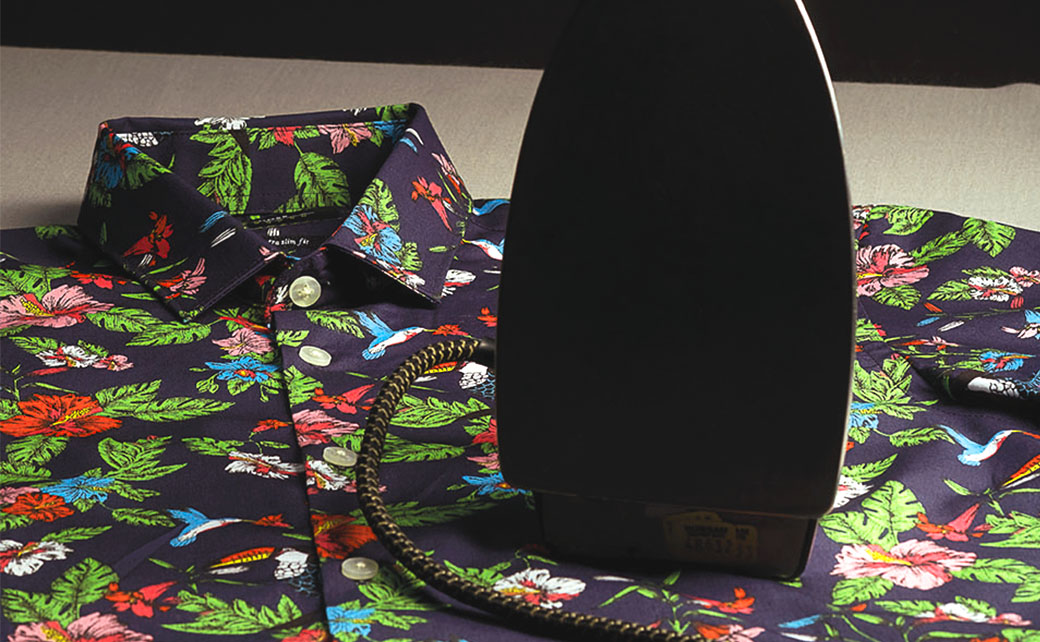
Shirts always get ironed from the collar down. Lift the collar up and iron the underside from one tip to the other. Then flip the shirt over and repeat on the outside.
STEP 3: CUFFS
Unbutton your cuffs and repeat the process above, ironing them on the inside and then the outside, pressing any wrinkles out towards the edges. Never iron over the buttons as they can leave a mark on your shirt – iron around them instead.
STEP 4: FRONT
Unbutton your shirt and lay one side of its front flat on the ironing board, with the rest hanging off the side. Start ironing at the shoulders and work your way down, pressing creases out towards the sides. Again, avoid the buttons and iron carefully around them instead. Give the placket (that’s the strip your buttons are on) extra attention as it’ll be the most visible part of your shirt when you’ve got a jacket on. Repeat on the other side.
STEP 5: BACK
Flip your shirt over and lay it with the collar nearest the pointy end of the ironing board. Start with the yoke at the top (that’s the panel that covers the back of your shoulders), and work your way down to the bottom.
STEP 6: SLEEVES
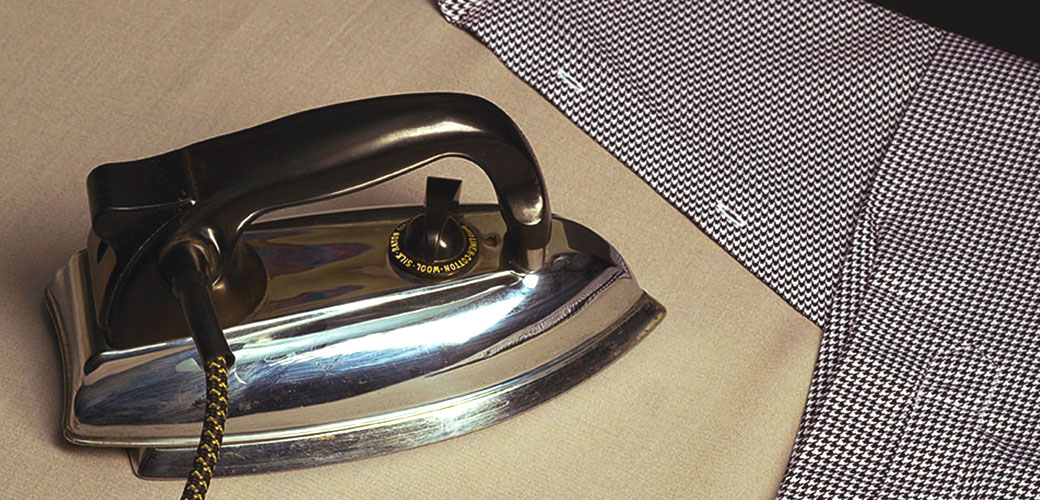
Lay the sleeve down the length of your ironing board, ensuring it’s nice and flat. Iron from the shoulders down to the cuff. You don’t really want a crease down the side of your arms, so make sure you concentrate on the middle of the fabric and stay away from the edges. As usual, repeat on the other side. And, you know, the other arm.
BONUS TIP
Iron slowly, but not so slowly that you burn your shirt. Burns are not a good look.